Copper John Nymph |
|
The following is a step-by-step photgraphic sequence of the tying of the Copper John Nymph |
|
Materials for Original Pattern |
|
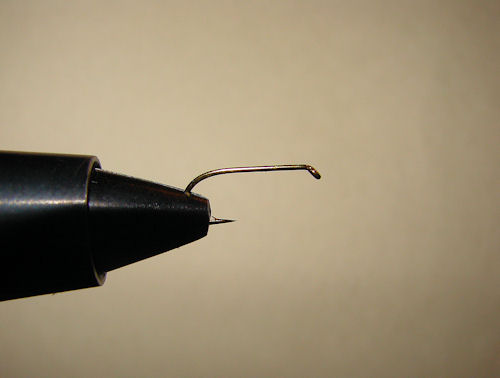 |
Step #1 The Nymph Hook securely in vise |
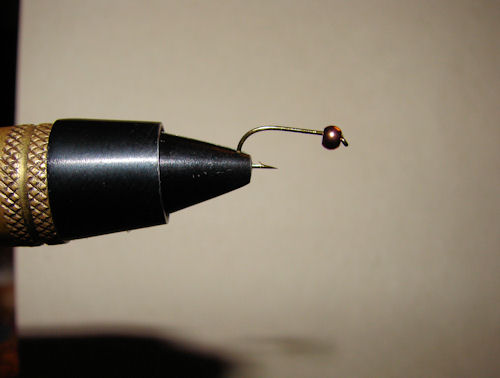 |
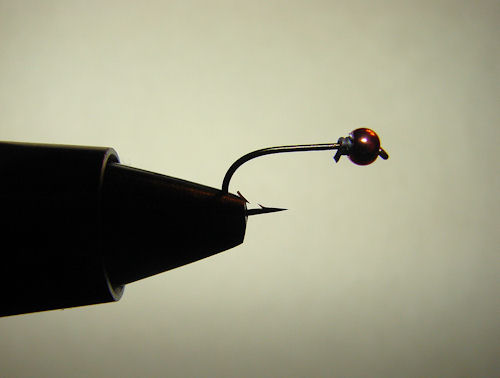
Step #2 Take hook out of vise and slide on a small copper bead (because you forgot to do that before Step #1). |
 |
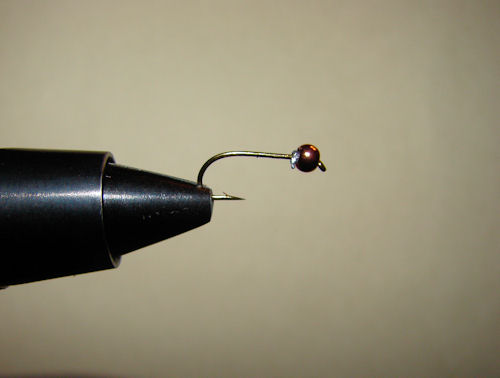
Step #3 Make three wraps of lead near bead. |
 |
Step #4 Force the wraps of lead into the bead cavity. |
 |
Step #5 Lay down a thread base, making sure to lock in the lead. |
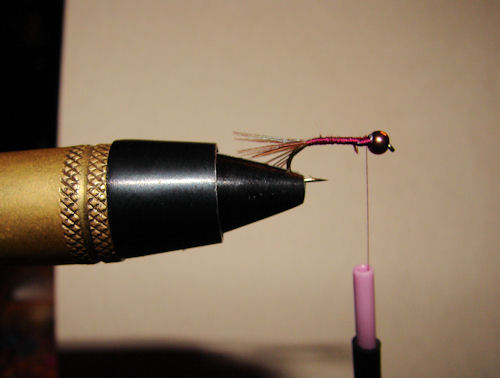 |
Step #6 Tied in tail material and return thread to bead. |
 |
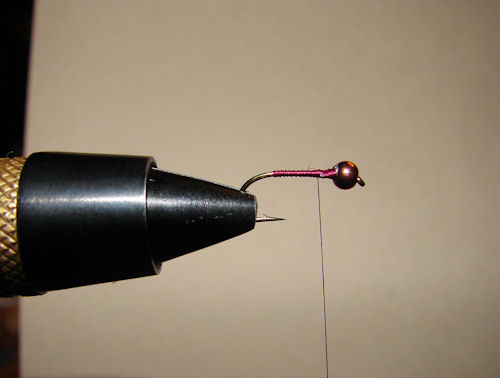
Step #7 Tie in copper (or colored) wire from bead to the rear. Return thread to Bead |
 |
Step #10 Wrap wire forward to bead and tie down. |
 |
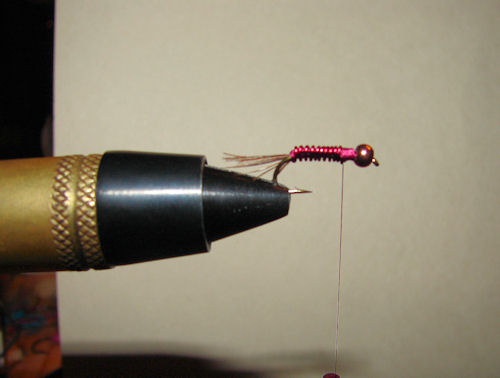
Step #11 Attach Peacock herl and wind foward, leaving approximately 2" hanging free. |
 |
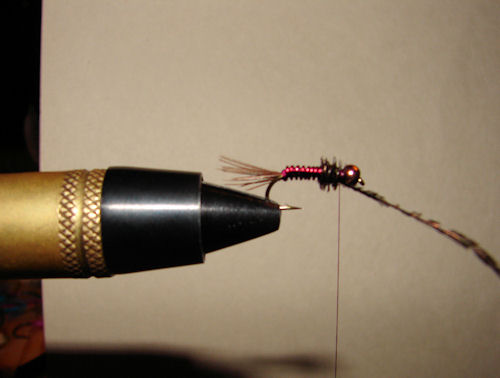
Step #12 Tie in leg material. |
 |
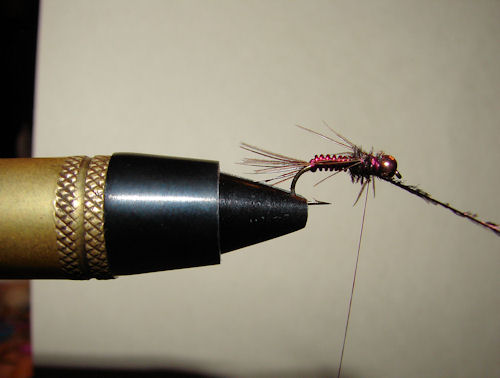
Step #12 Over-wrap leg material with remainder of Peacock herl. Whip finish and apply head cement. |
 |
Bottom View |
 |
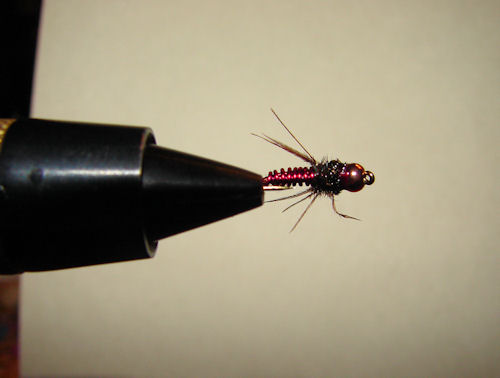
Top View |
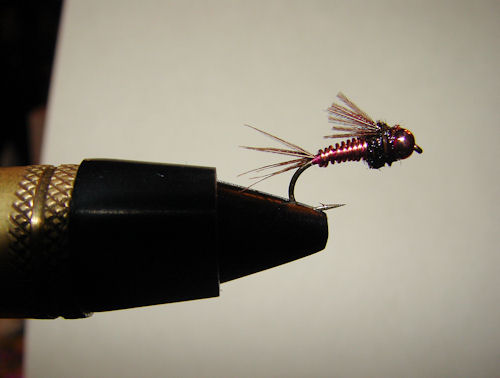 |
Copper John with Copper Wire instead of colored wire. |
|
Final Thoughts: There are numerous variations of this fly. Not only in use of wire colors, but as mentioned in the materials list, differences in tail materials - biots or tips. Some folks put a shell-back on this fly with either the pheasant tail fibers, or use flashback materials. A very versatile fly that imitates some mayfly nymphs or possibly midge chironomids if tied in smaller sizes. The thorax area is modified quite a bit in some designs. Some tie a short wing on top (like a Prince Nymph), some tie legs to the side and others tie in legs underneath. |
|