Caddis Dry Fly |
|
The following is a step-by-step photgraphic sequence of the tying of the Elk Hair Caddis |
|
Materials for Original Pattern |
|
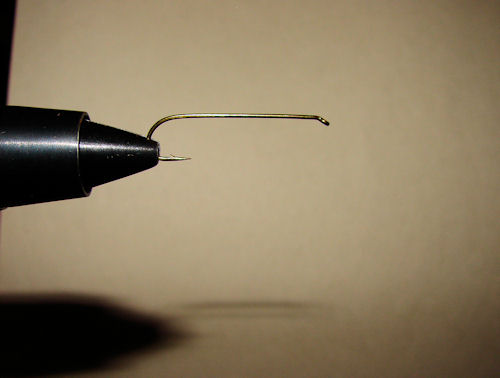 |
Step #1 The Hook securely in vise |
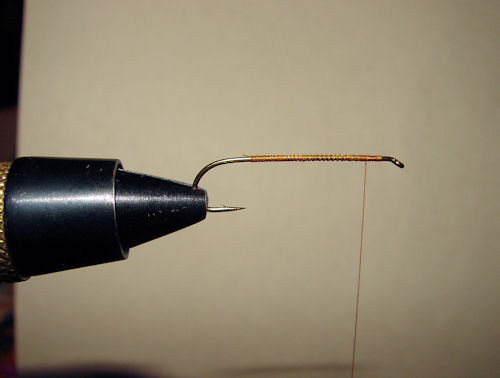 |
Step #2 Lay down the thread base. |
 |
Step #3 Tie in Ribbing material I tied in the oval from the eye to the back, and tied in the brown hackle from the rear 1/3 to the back. |
 |
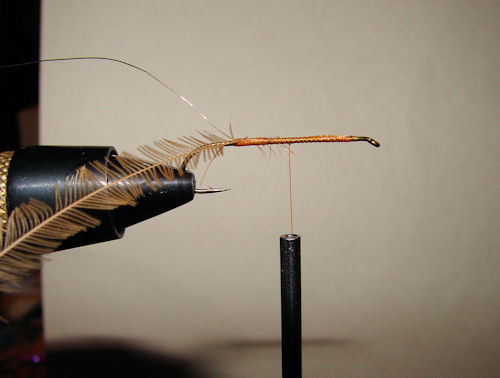
Step #4 Dub the thread with Burnt Orange dubbing and wind forward to behing the hook eye. |
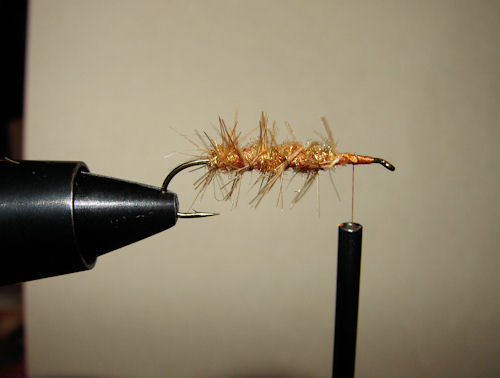 |
Step #5 Wind forward the brown hackle and tie down. Wind forward the oval gold rib - countered to lock down the hackle. |
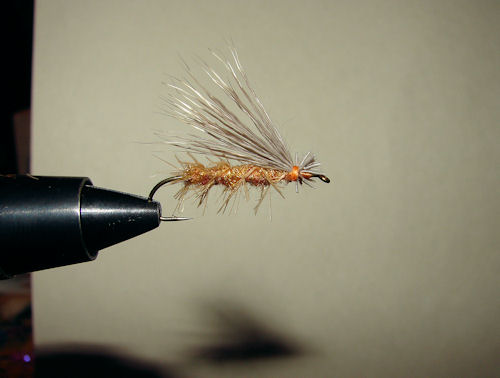 |
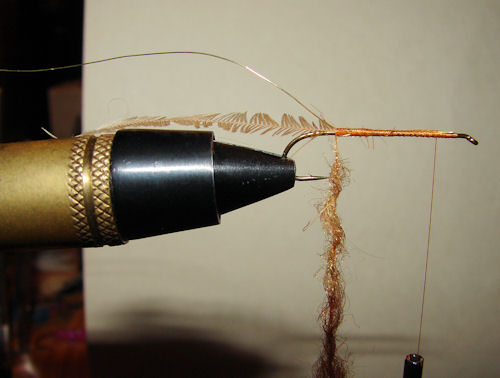
Step #7 Tie in the Elk Hair Wing and allow to flaire up in front of the thread. Whip finish behind the flare, and coat with head cement. |
 |
Top View |
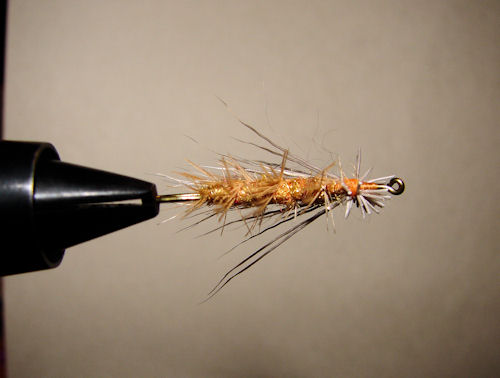 |
Bottom View |
|
Final Thoughts: I probably could have used more hair in the wing. Be sure to spread the hair well before casting and always apply a good quantity of floatant. If you witnessed adult caddis on the water, the wings are NOT folded like a tent over the body, they are spread out and fluttering, creating quite a disturbance on the water surface! Also, the caddis in my neck of the woods have quite a thick thorax area, with a slender aft body segement. For flies I fish with, I double back over the front 1/3 of the fly to build up this region (not shown here). Tight Lines Everyone. Dave |
|